A couple of years ago, with the rising of AI, bots started getting pretty popular. People hoped bots would challenge the present and make a better future. During that time, we saw the rise and fall of more than one robotic companion but here we are, still waiting for a better future.
The trend came and eventually went away but knowledge is something that lasts forever and it’s never too late to acquire it. As such, the best way to learn about bots is to build one.
This is what I offer:
At the end of the article, you’ll have learned about bots and will have built one (you can pick the name), and you’ll be able to improve it to make it do what your dreams desire. Let’s build you a better future!
This is what I ask in return:
We’ll be building using the JavaScript language. You don’t need to be a pro at it but at least possess some knowledge regarding JavaScript, Node.js, and npm. You’ll also need to know a bit about the command line. I’ll try to keep things as simple as possible and show you everything step by step.
![]()
Today we’ll be building a bot for Telegram.
If you ask Wikipedia, they’ll tell you that Telegram is an instant messaging service created by Pavel Durov and his brother Nikolai. Thankfully for us, they’re very welcoming to bots and made it very easy to add one to the platform.
Let’s get going!
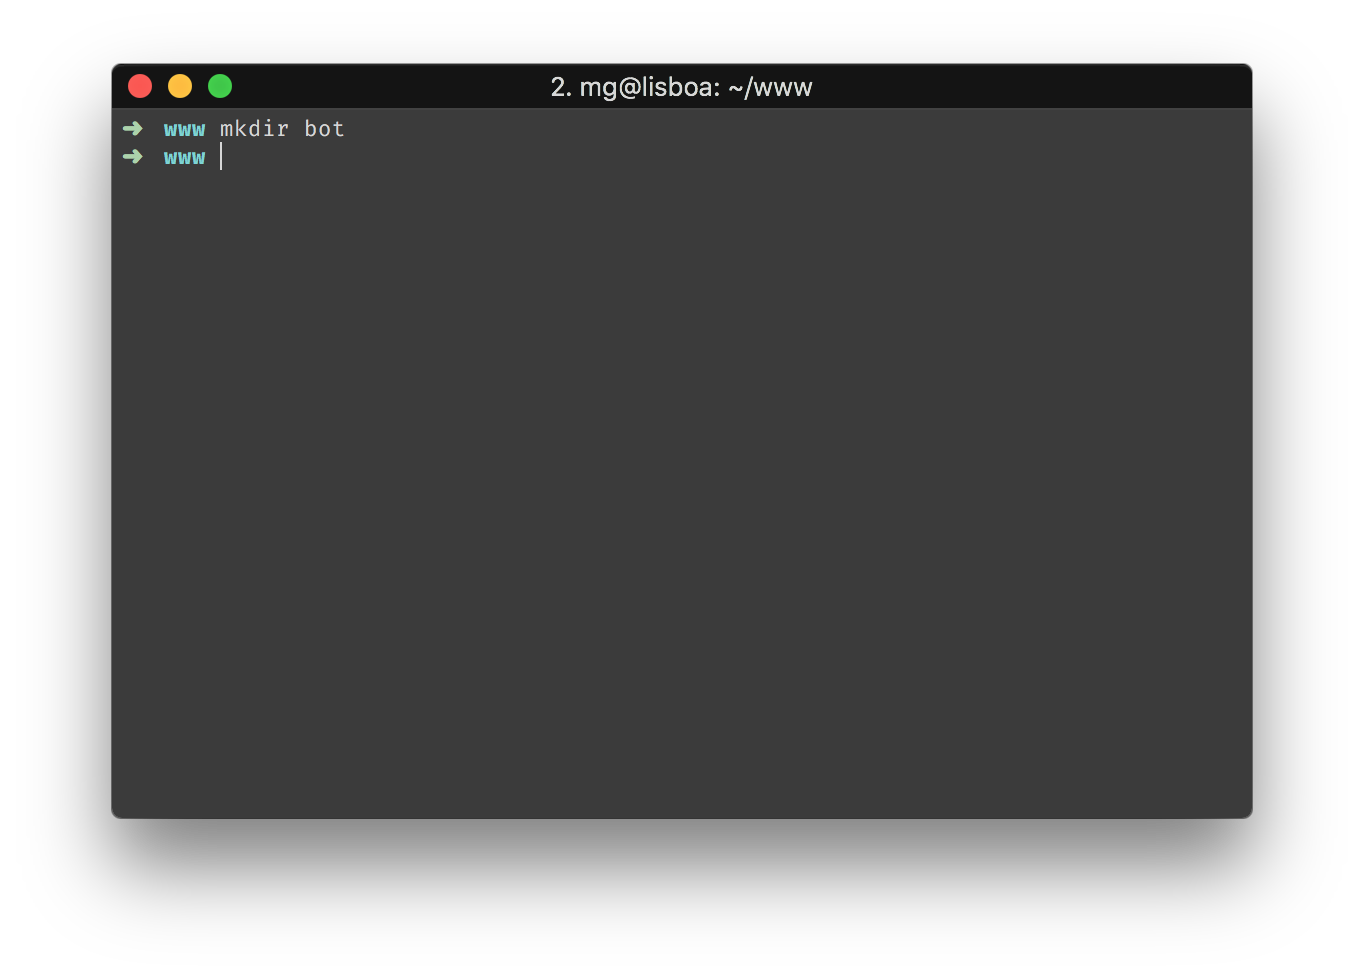
First things first… Open your terminal and start by making a folder for your companion. You’ll notice that all commands that I write on my terminal are written on the lines with an arrow and in this case www is the folder I use to keep all my projects.
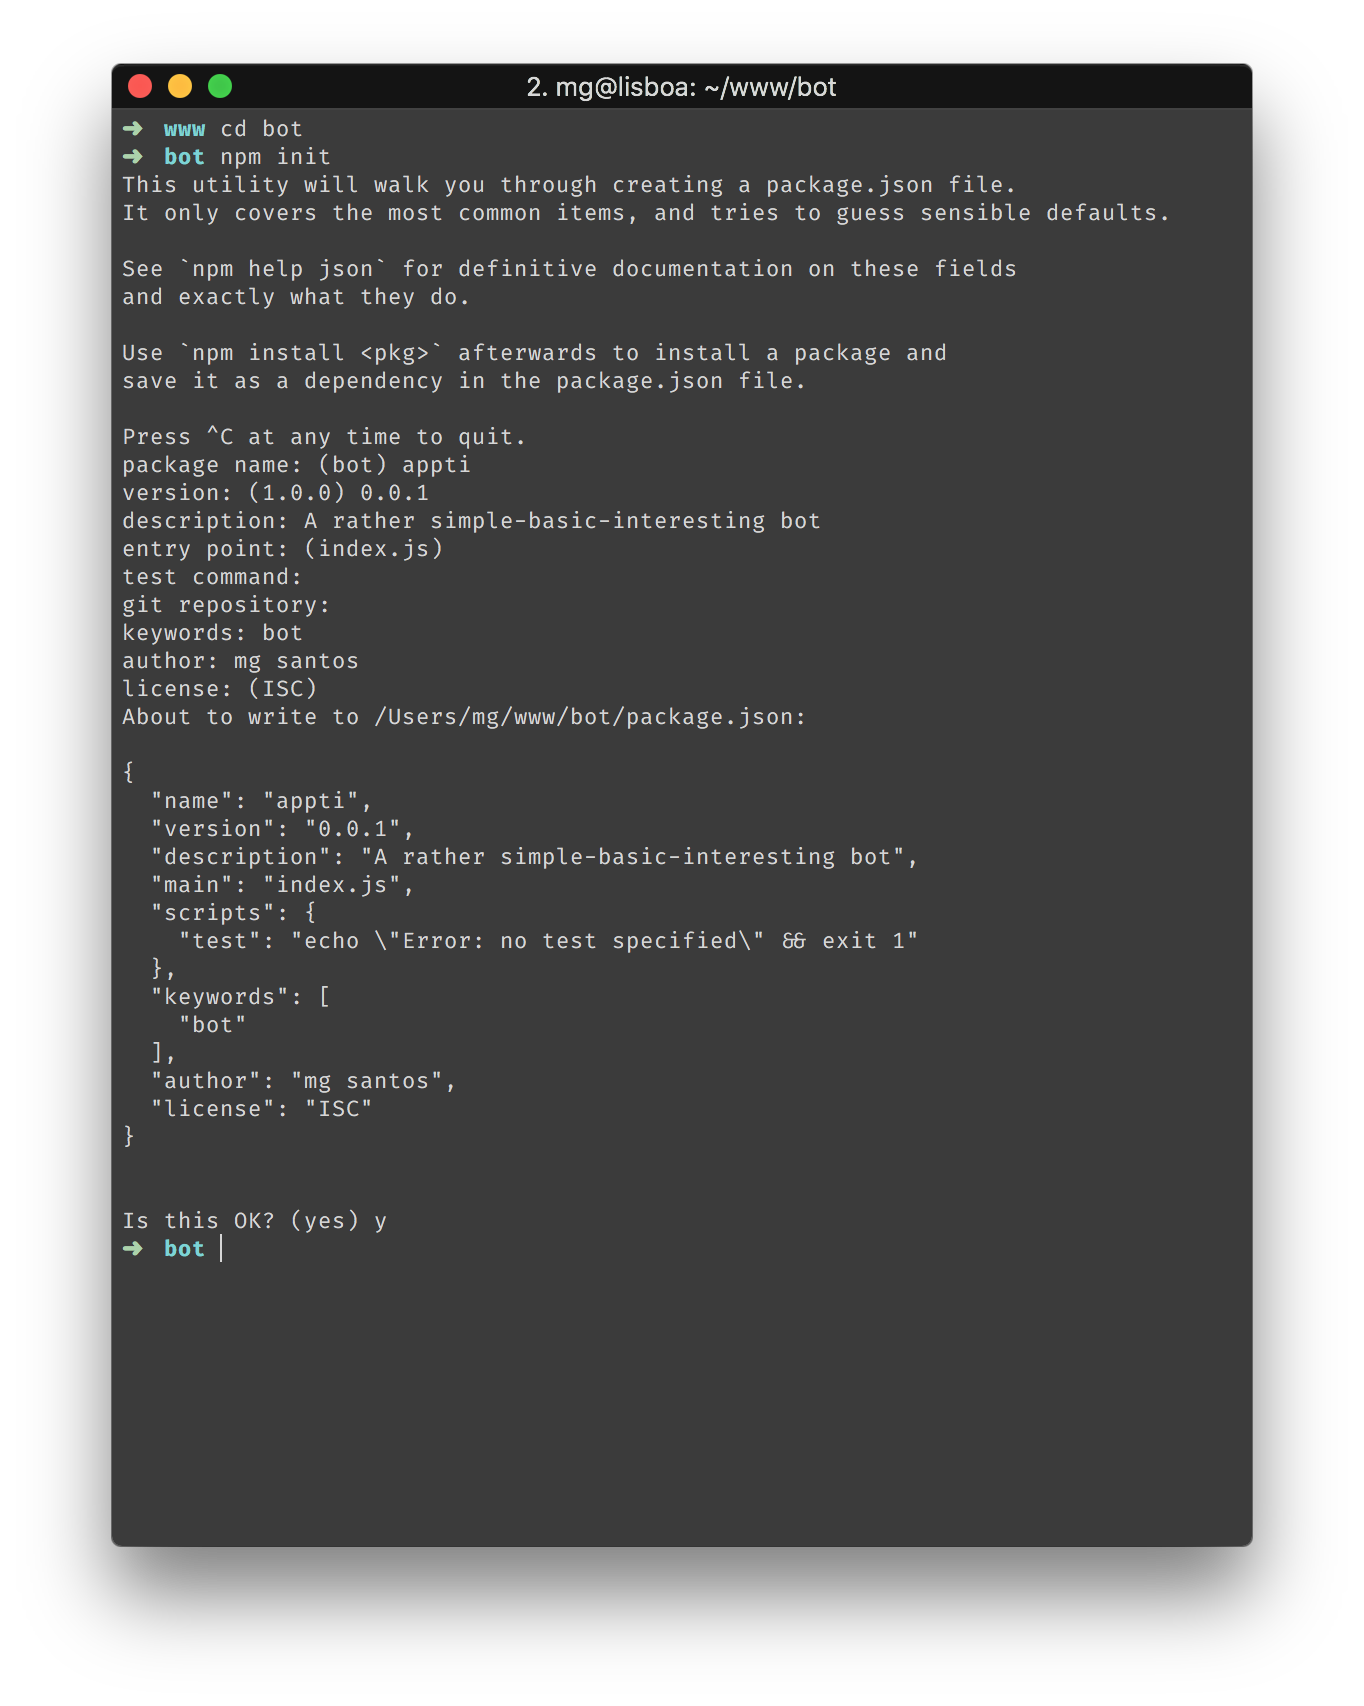
After navigating to your newly created folder, initialize the project with npm. This basically creates a file called package.json to store some information (name, version, description, …).
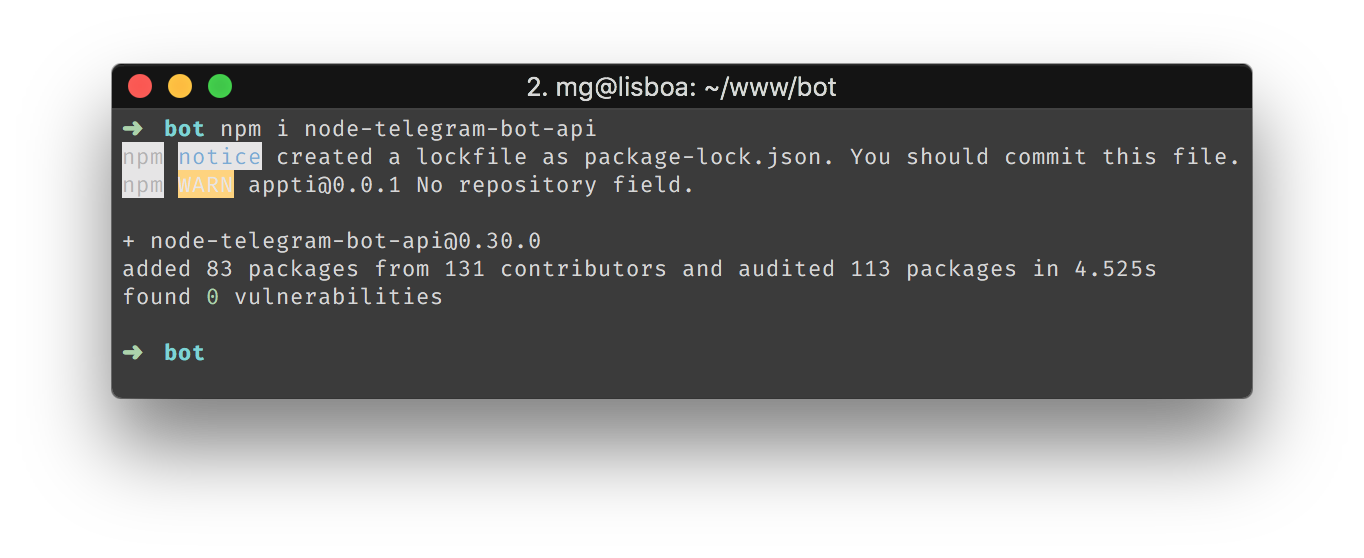
 Since we won’t be re-inventing the wheel (or at least, I don’t want to), we’ll use a pre-existing library called node-telegram-bot-api to connect to telegram. To use it on your project, all we need is to install it.
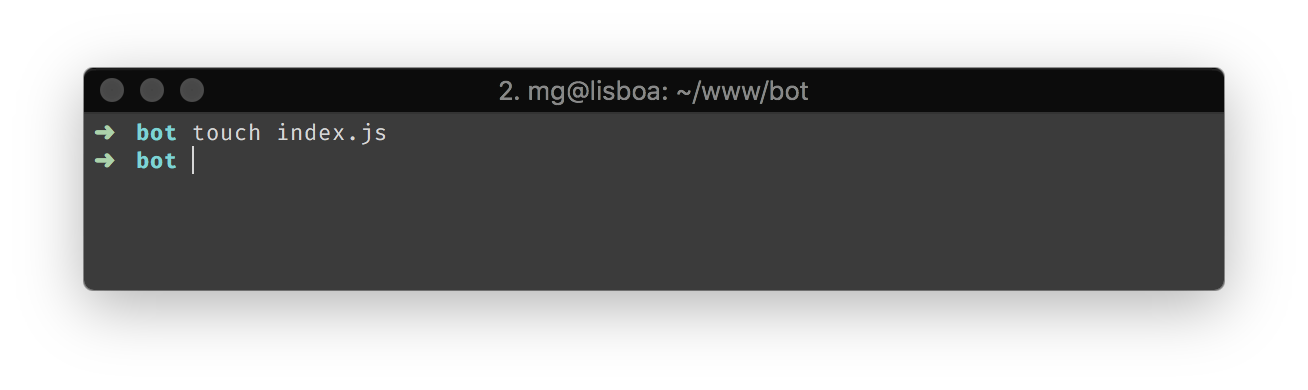
Next, inside your project, create a file for your code called “index.js” (or anything else really, but don’t forget to run the proper file later on) and we should be pretty much ready to start to code.
Let the fun begin!
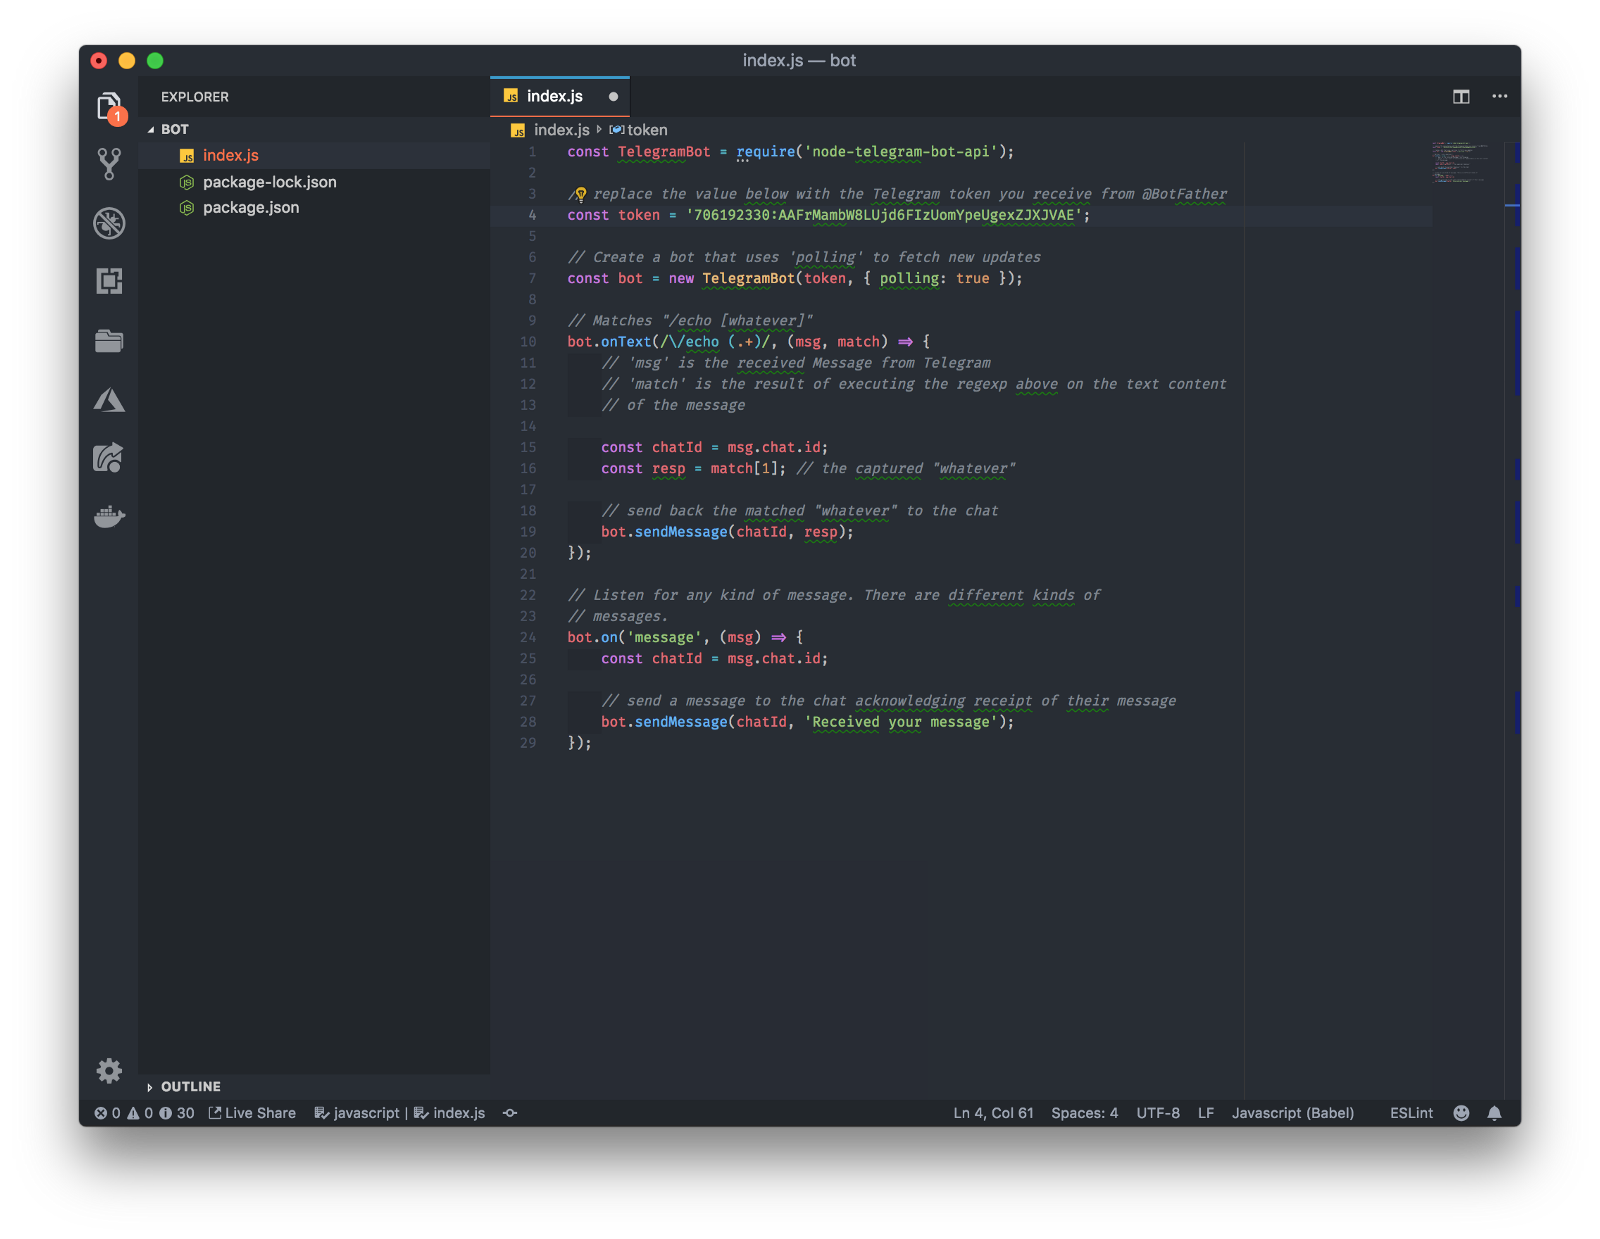
Here we are, with a blank canvas ready to make a masterpiece. You’ll see I have my files on the left side and my editor on the right. This is what your folder should look like.
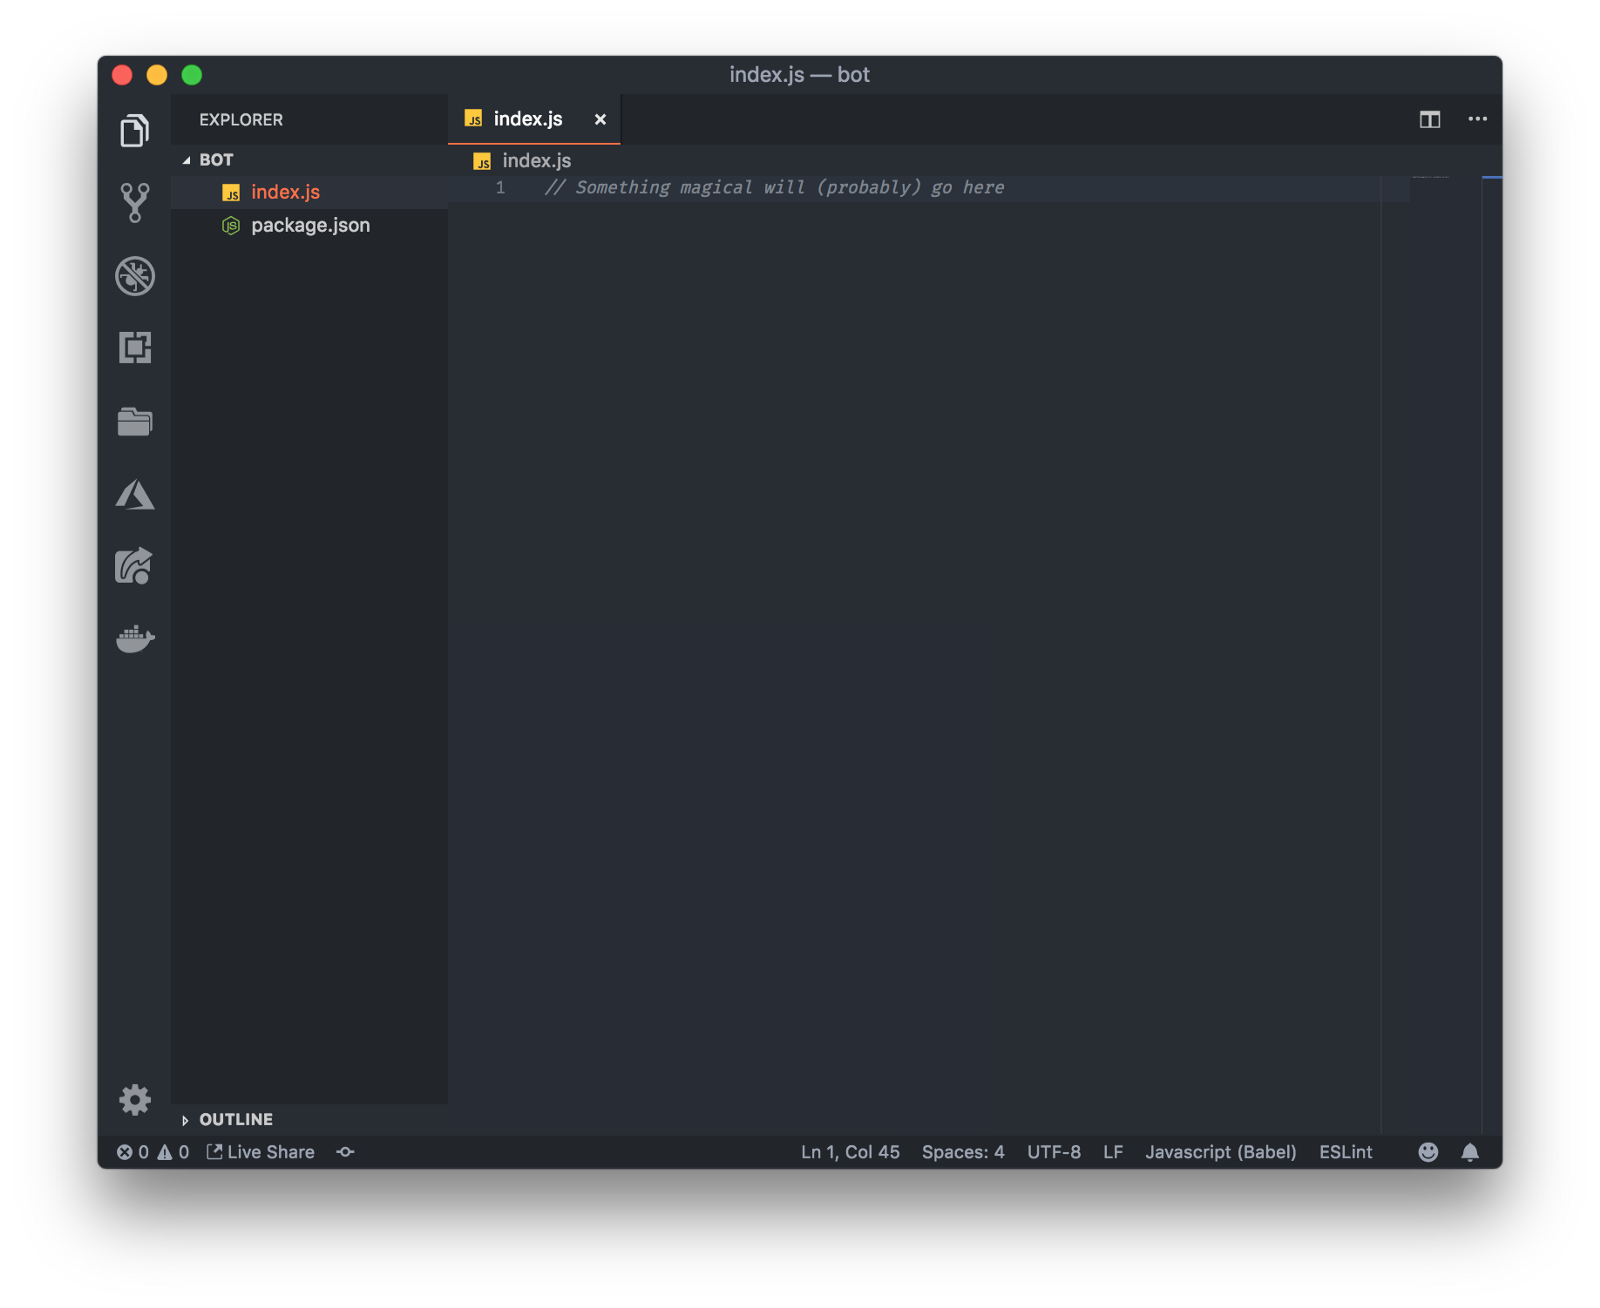 The project inside the Visual Studio Code editor
To start simple, we can copy-paste the example given by node-telegram-bot-api. If you do so, you get the following :
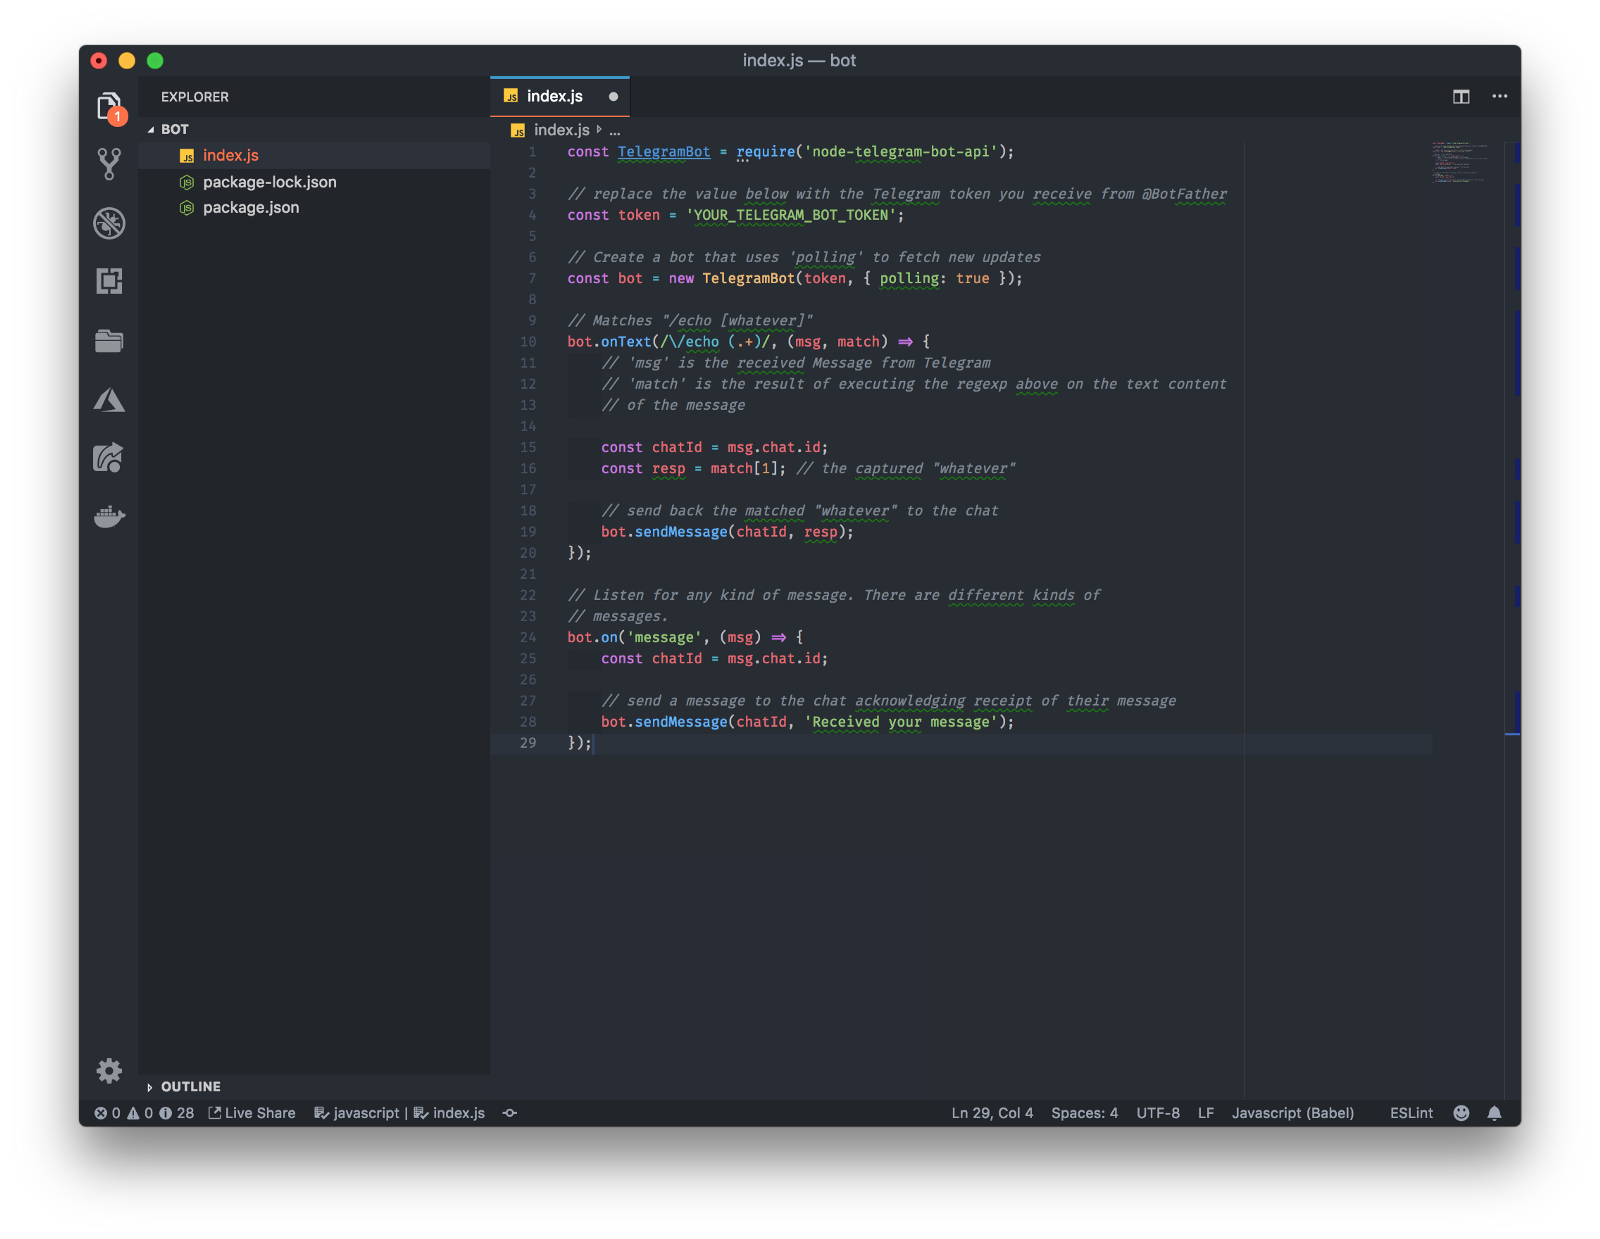 Almost done but not yet… If you look closely, you’ll notice that on line 4, a token is required.
Let’s get you a token.
To get a token, you need to be logged on telegram and then talk to the BotFather. The BotFather is a bot (?). He’s the entity responsible for managing the bots on the platform. So, when you need to create a bot, you need to speak with him.
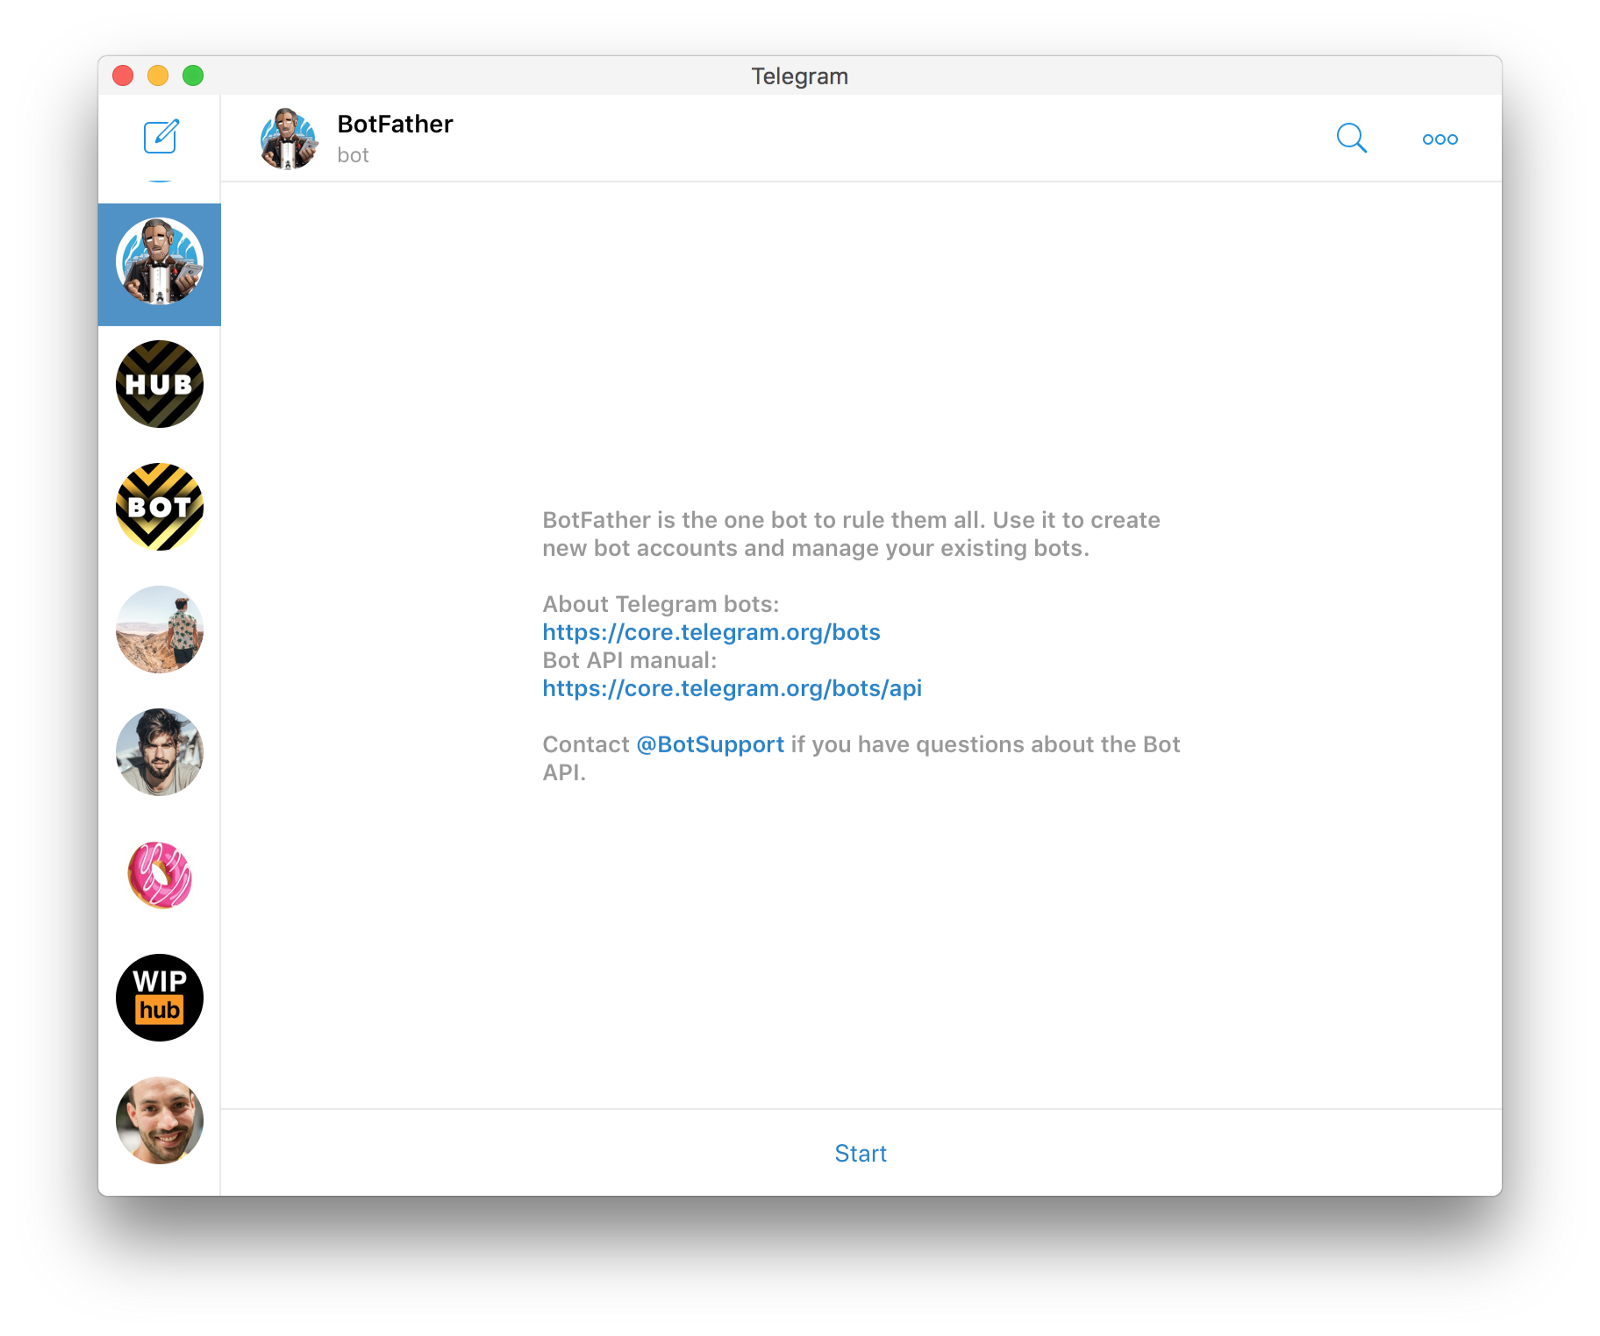
Start!
To begin, click start and you should be presented with a list of available commands.

To create a new bot, click on /newbot. The BotFather will ask you to pick a name (mine’s called pinky) and a username (I picked pinkyTheBot).
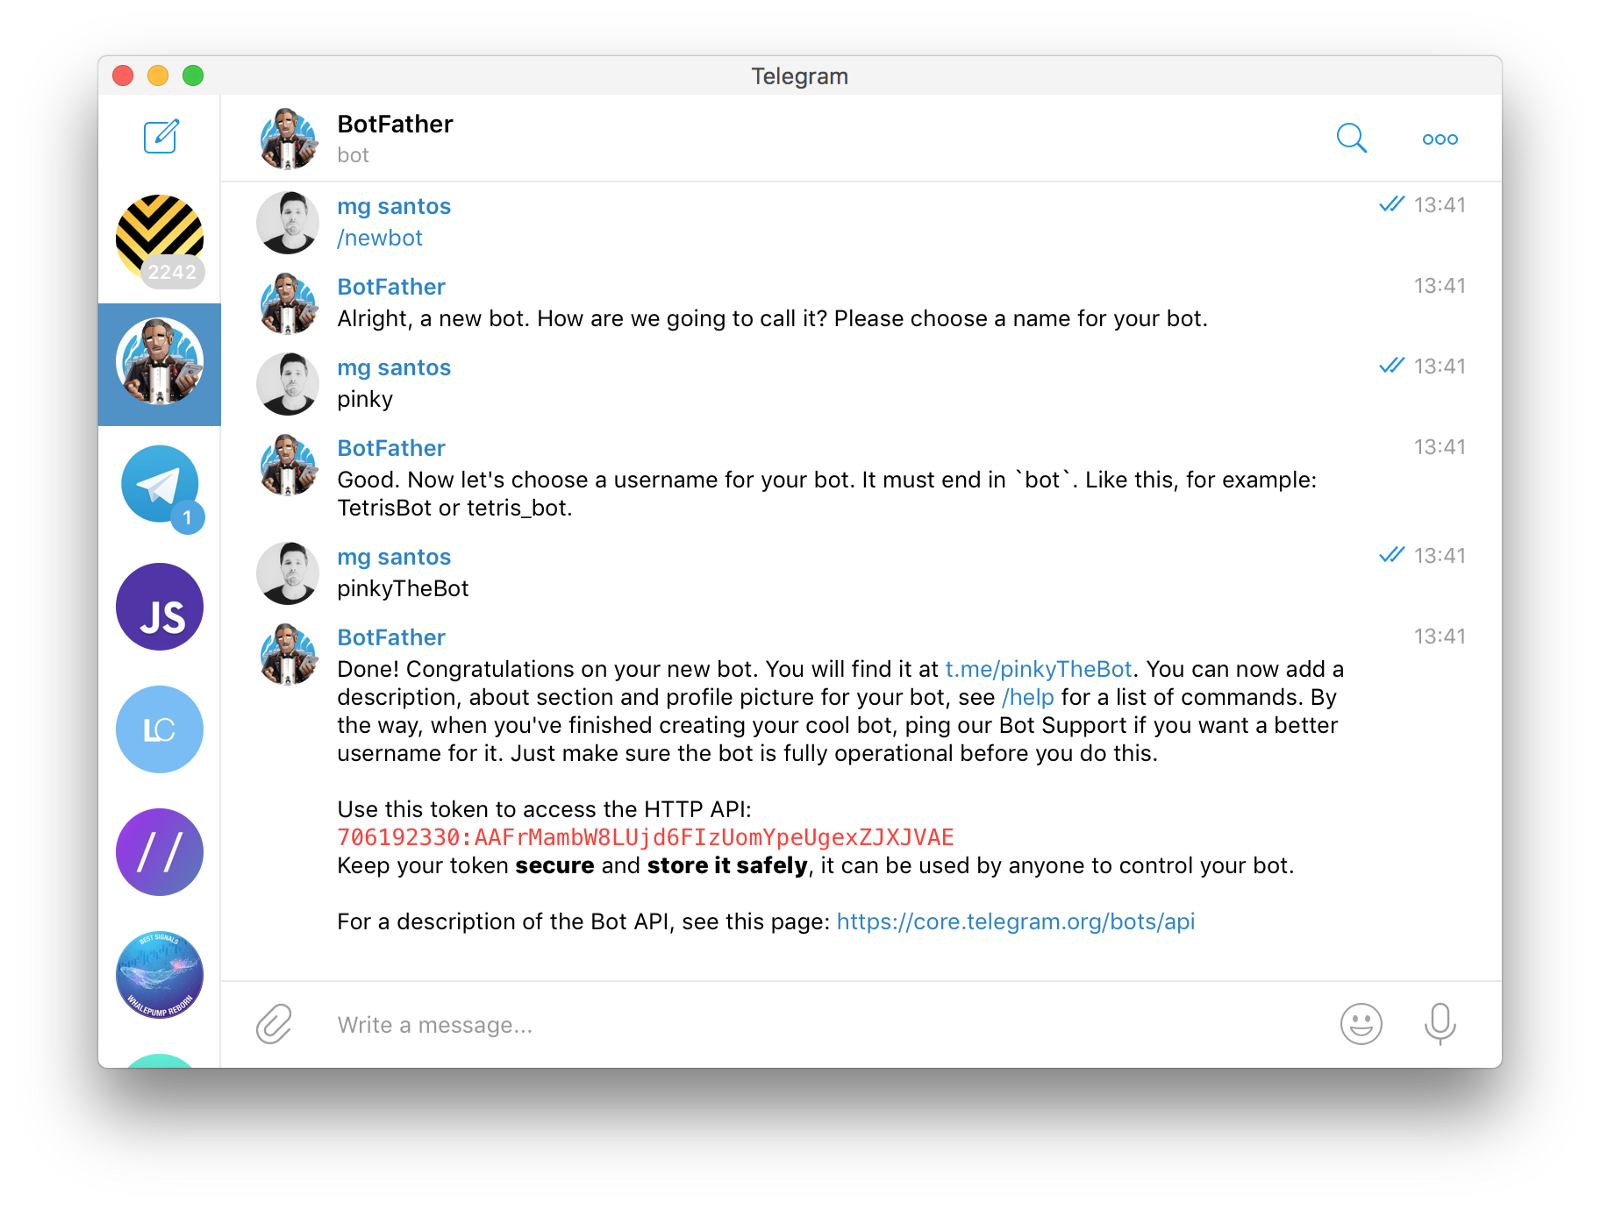
I can officially introduce Pinky!
Pinky is probably the best bot on earth! He won’t do much, but what he’ll do will be with sheer perfection! I’m sure your Pinky will have the same perfection!
All good, we now have the token. All we need to do is to go back and paste it on the 4th line of our code, like so.
Ready? Set? Go!
If everything went well, you can start your pinky! (the command is with node index.js). To exit at any point, you don’t need to close the terminal, simply do a CTRL+C.
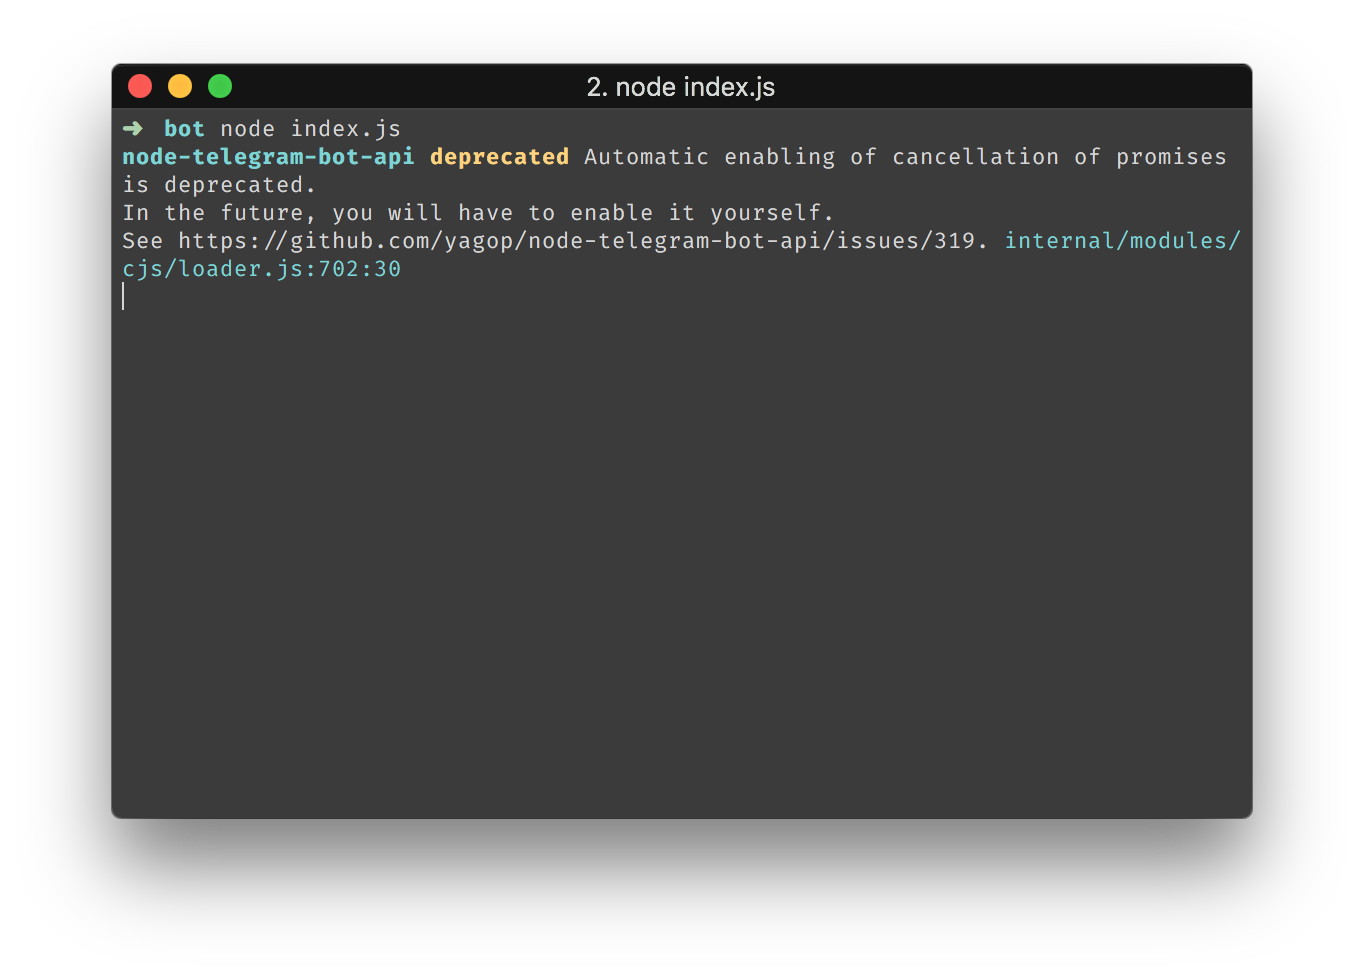 You can ignore the deprecation notices
If you go to Telegram and search for your bot, you should find it. Since mine is called pinkyTheBot, that’s what I search for. When you do, if you click /start, you should get a message from Pinky saying it received your message and this is our code working!
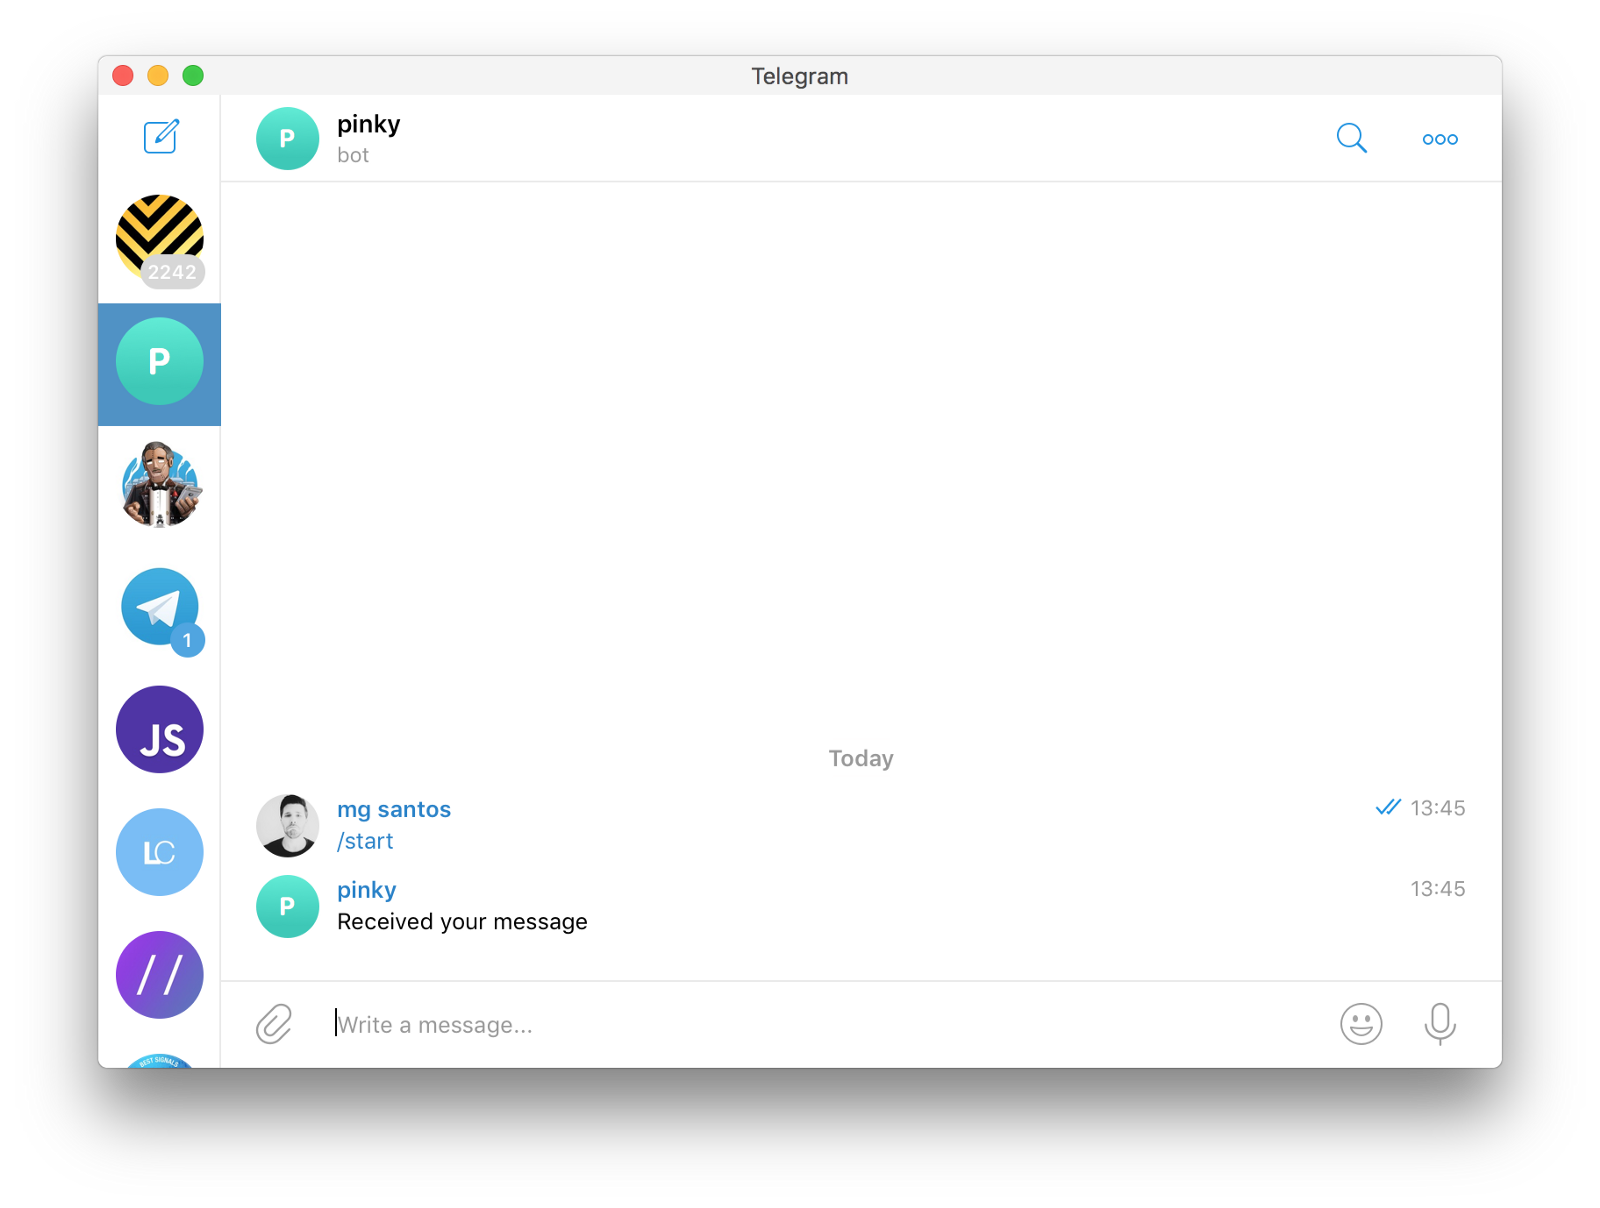 ET calling home
If you managed to follow this far, well done! If you look at the code, you’ll see, the only thing the bot can do for now, is to echo a message (lines 9 to 20). It’s easy to test this, every time you send a message like so /echo random message you should get a reply with the same random message.
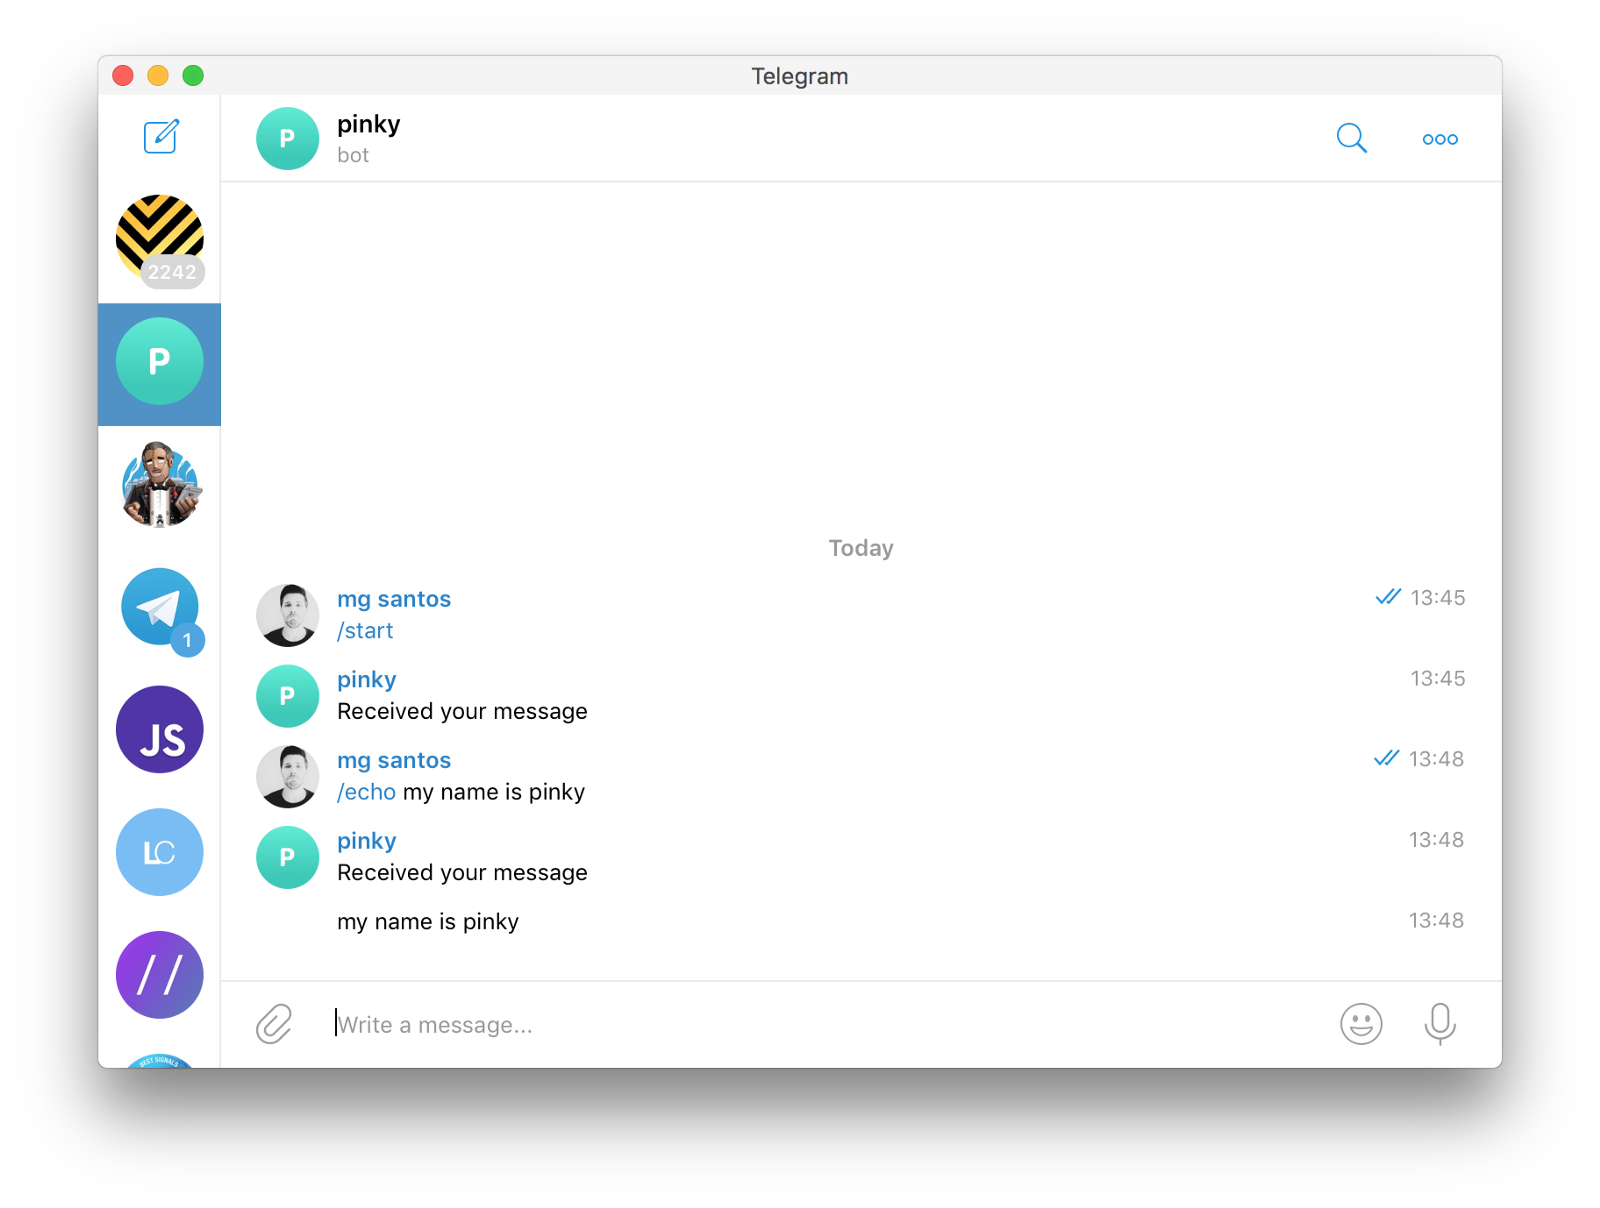
A fully working bot! A pointless one too!
That’s all folks!

I hope you liked this article and you learned something new along the way… I really hope you enjoyed this article but if I were you, I wouldn’t be satisfied… after all, pinky is not useful at all! So like a great super-hero movie, let’s have some after-credits.
Extra chapter: Pinky’s killing two birds with one stone
I’m one of those people to which colors are mostly red, blue, green, yellow, black, white, … But “apparently”, sometimes red is not red but magenta or purple-red or some other reddish tone. This gets confusing and I never know how to name a color. Let’s fix this, or better, let’s teach Pinky how to tell us the name of certain colors and accomplish the idea of the proverbial “two birds, one stone”!
Incapable of naming colors, Pinky will use a package from npm called color-namer to do so. Just like before, to install a package simply do it from the command line.
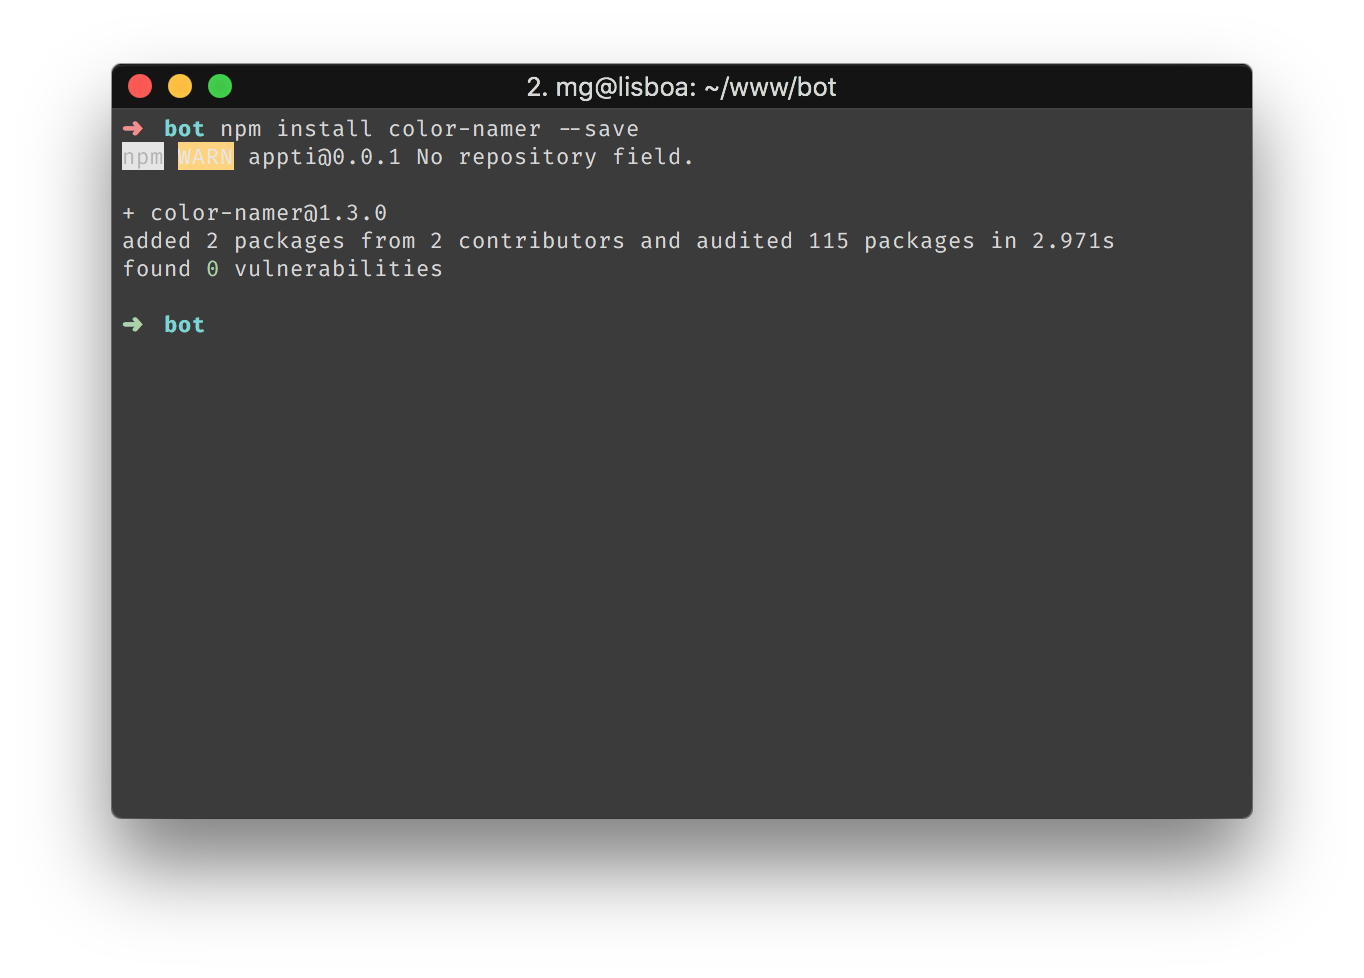 yay! another install…
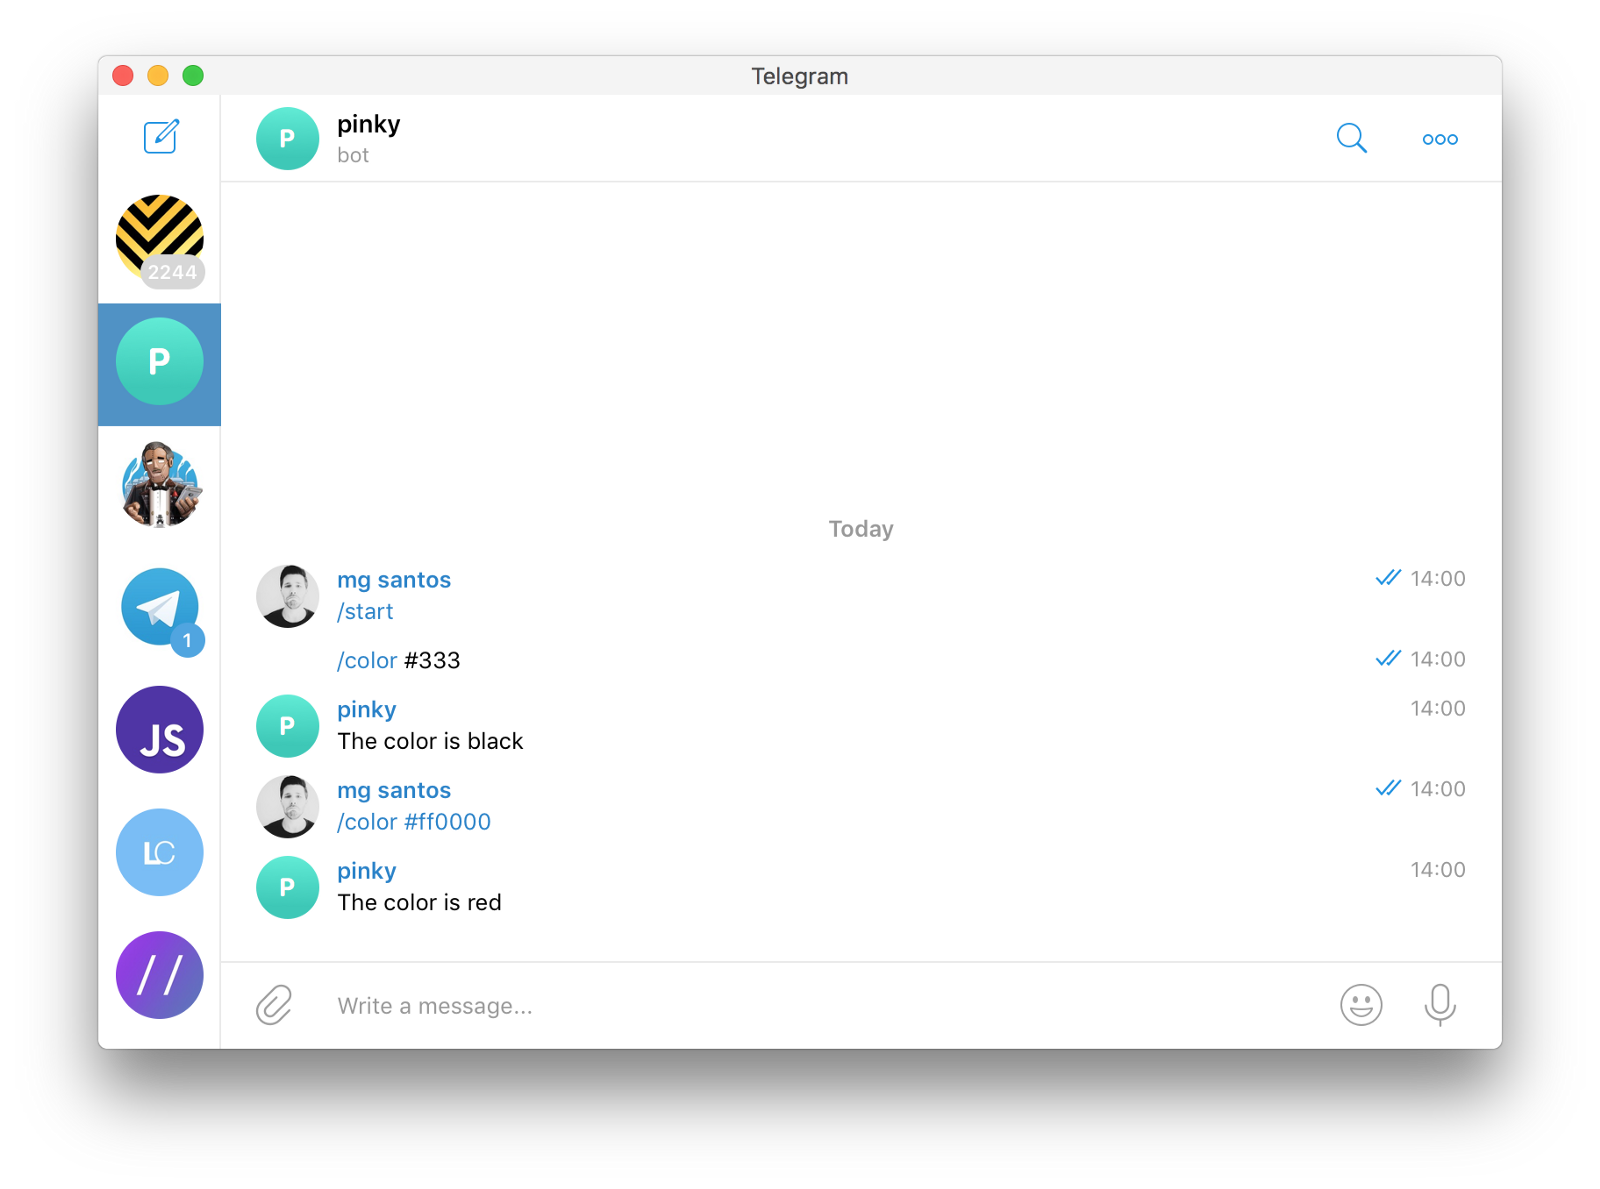
To clean up Pinky, I removed all the useless stuff (no more /echo or message received). I also taught him his new skill and as a bonus, we have even fewer lines of code. More room to breathe!

To create his new skill, firstly, I imported the new library (line 1) and second, I told Pinky to answer the command /color #ff0000 (starting on line 11). All it does is taking the hexadecimal color from the received message and send it to the library we installed before. Now if you try the new command, you should get the name of the color as a response.
That’s finally it!
I’ll leave you with some homework:
- Brush up on your javascript if you need to.
- Add simple commands to the bot. For example, /status should reply online; /name should reply with his name, …
- Add usefully (harder) commands to get your planning for the day from google calendar, the schedule of the next trains to go home, …
- Add a way to be automatically notified of the weather for the next day, so you don’t forget your umbrella,…
- Convert your bot for other platforms: slack, twitter, or even email (why not?).
I hope you have learned more from this short introduction to chatbot development.